That situation when you feel something is wrong with your MacBook, but you can’t figure out the true culprit, is very unsettling as you become unable to perform your regular tasks.
Well, in most cases, the problem lies in the hardware, and you have to run diagnostics on Mac to investigate the issue and fix it ASAP. Here we have mentioned easy methods that will get the job done for every version of your MacBook.
Before you start
Make sure to plug out all the third-party storage or computing components (if any), like mouse, keyboard, monitor, etc. Ensure that only official parts are connected to get accurate results about the system’s performance.
To simply run the diagnostics on the Mac, first you have to configure the generation of your MacBook. If you have purchased a new Apple laptop between the years 2012-2019, then they are considered Intel MacBooks, but all the MacBooks produced after this phase are called Silicon MacBooks as their complete architecture is built by their own brand. Now we have mentioned some steps for both versions, as diagnostics work differently in these two categories.
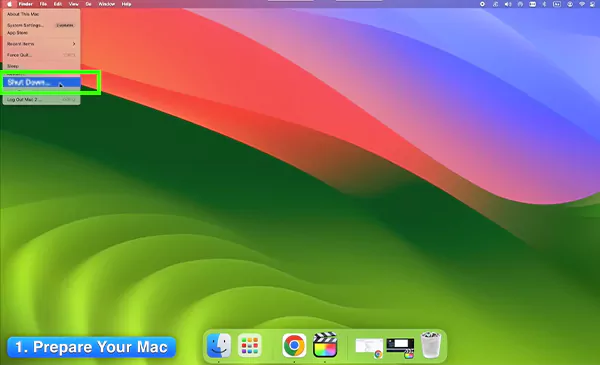
Intel MacBooks still work perfectly, and many people rely on them today for both casual and professional purposes, but sometimes they might also show some disruption in the usage, so to check that reason, you need to:


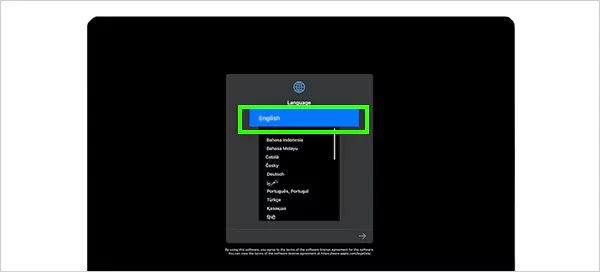

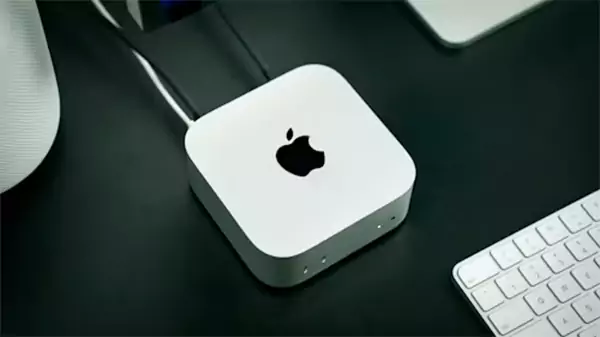
Silicon MacBooks are new-generation laptops that are filled with so many immersive features and a powerful hardware engine to perform all the heavy tasks, and the Apple MacBook Pro 2020 has been an instant hit among the masses. But at the end of the day, they are just machines and can prevail over some issues. So to find those issues, running diagnostics on them is a bit easier.



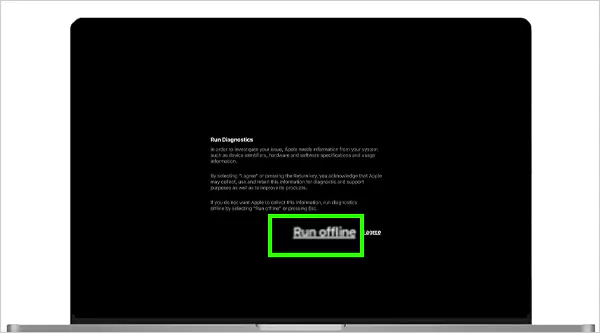

PRO TIP
Before starting any diagnostic report analysis, make sure that your macOS is completely updated with all the security updates and security patches to remove several bugs or glitches in the old version. Also, make sure to plug in your laptops or fully charge them before running diagnostics because low power mode can hamper the battery analysis, and if it gets shut down during the process, then you have to redo everything.
After the procedure of diagnosis is completed, some codes might appear on your computer that identify whether everything is perfect or not. There are some common types of error codes that you might see if the problem is related to hardware accessibility, graphic drivers, WiFi tethering, or software issues, which we have mentioned in the table below.
| Codes | Meaning |
| ADP000 | No issues found in the computer |
| NNN001 | The serial number was not detected. |
| CNW001–CNW006 | Issues were detected with the Wi-Fi hardware. |
| NDK001–NDK004 | Problem detected with the keyboard. |
| BMT001–BMT005 | Issue with the Touch ID sensor. |
| DFR001 | There is something wrong with the Touch Bar |
| VFD001–VFD004 | Display or graphics processor errors |
| PPF001–PPF004 | There may be an issue with the internal cooling fan |
| PFM001–PFM007 | There may be an issue with the System Management Controller (SMC) |
Running diagnostics on the Mac is one of the easiest yet effective practices used for analyzing and finding problems that exist within the framework of the CPU. It also helps to provide valuable information like the health of components, their overall stability, and other parameters that are vital for measuring the overall performance of the MacBook. Checking them is very easy as you just have to perform the keyboard based on your MacBook generation. The Silicon MacBook has a different way to run the diagnostic than the Intel ones.
To check the system health of your MacBook, open the System Information in a system diagnostics report and review all the vitals.
On a Mac, the Control + F4 shortcut moves your keyboard focus directly to the active window or the next open window.
Well, not that much because Apple supports major software updates up to 7-8 years, and security patches for up to 10-12 years, so a 7-year-old Mac is not that old.