Having difficulty in managing your AT&T email account through the web-based client? No worries. Like most users, you can also configure your AT&T account on your phone for performing all the essential functions with ease. Configuration of AT&T email account on phone allows users to send and receive emails directly through it. This way, it eliminates the need of going through a lengthy process of signing in to the AT&T email account on computers/laptops.
[Note: AT&T has recently overtaken Yahoo’s email administration and thus, Yahoo and AT&T’s powered email services like SBCGlobal and Bellsouth are migrated to ‘@Att.net’ domain. So, from now, even those users who want to access Yahoo, SBCGlobal, and Bellsouth domains on their respective mobile devices, have to configure the AT&T email service only.]
Well, the setup process of configuring an AT&T email account on a mobile device is quite easy. It only requires to have the following below-mentioned list of things in advance—
Basic Prerequisites for Configuring AT&T Mail
A Strong and Secure Internet Connection.
User-data of AT&T Email Account such as ‘Username, Email Address and Password.’
The below-given correct AT&T Email Server Settings.
The Correct AT&T Email Server Settings for iPhone (Versions 7 and above)
IMAP Server Settings of AT&T Mail for iPhone
Incoming Server
imap.mail.att.net
Incoming port
143
Outgoing Server
smtp.mail.att.net
Outgoing port
465 or 587
Secure port
993
Security type
SSL/TLS
Insecure port
143
Security type
None
Requires an encrypted connection
On
Type of encrypted connection
SSL
POP Server Settings of AT&T Mail for iPhone
Incoming Server
inbound.att.net
Incoming port
110
Outgoing Server
outbound.att.net
Outgoing port
465 or 583
POP Secure port
995
Security type
SSL/TLS
POP Insecure port
110
Security type
None
Requires an encrypted connection
On
Type of encrypted connection
SSL
And, along with that, you also need a comprehensive guide like this in front of you.
In this guide, we’ve specifically mentioned the setup process of configuring AT&T Mail on iPhone mobile devices. So, all the AT&T users who wish to access their AT&T email account through their iPhone can begin with the configurationprocessby simply following these steps:
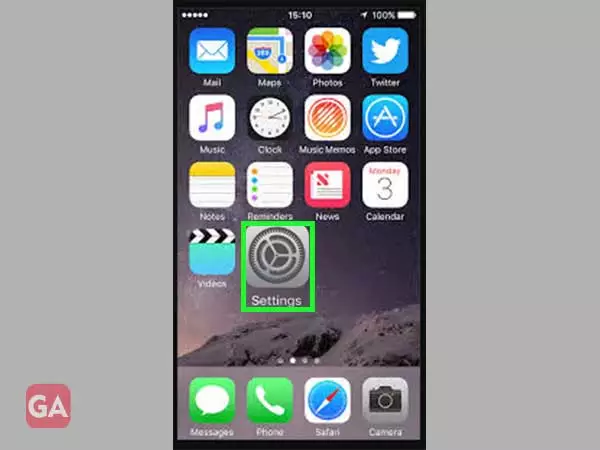
Step 1: Settings
In order to begin the setup process, tap on the ‘Settings’ app icon from the application’s menu homepage of your iPhone.
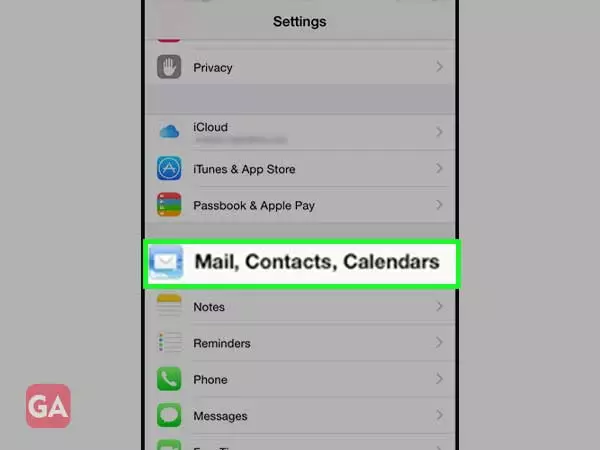
Step 2: Mail, Contacts and Calendars
Inside settings of your iPhone, scroll down on the page till you locate the ‘Mail, Contacts and Calendars’ option.
Tap on the same to navigate on to the ‘Mail, Contacts and Calendars Settings Page.’
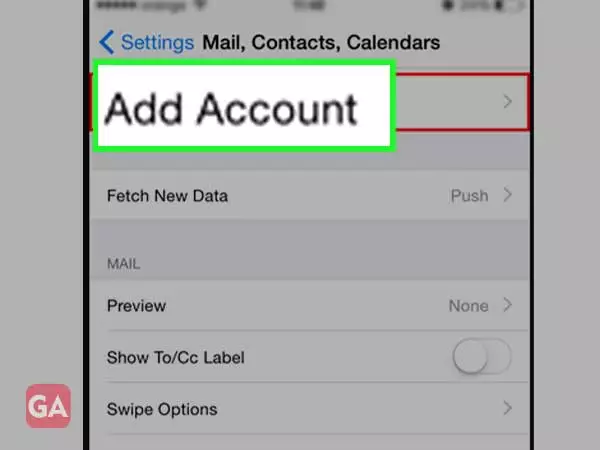
Step 3: Add Account
From there, you have to tap on the ‘Add Account’ option which is available right below the iCloud tag.
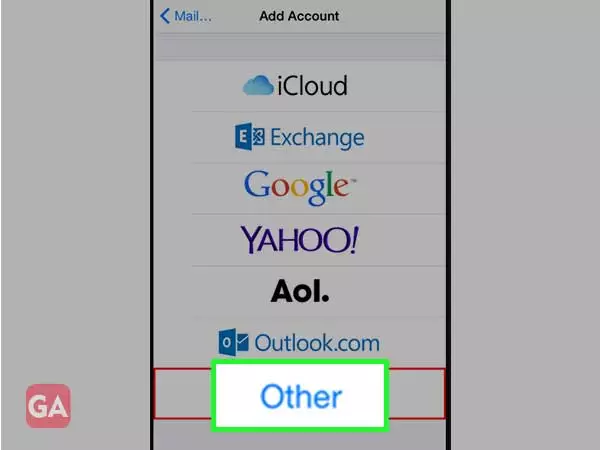
Step 4:Other
Then, select your ‘Att.net’ email provider name in case, if it is available on the list of providers. However, in case if ‘Att.net’ is not available then, choose ‘Other’ as the option from the available list.
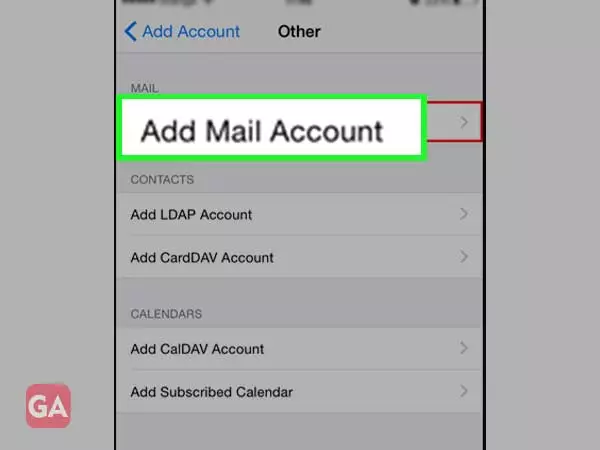
Step 5:Add Mail Account
Next, you have to simply tap on the ‘Add Mail Account’ option to move further with the setup process.
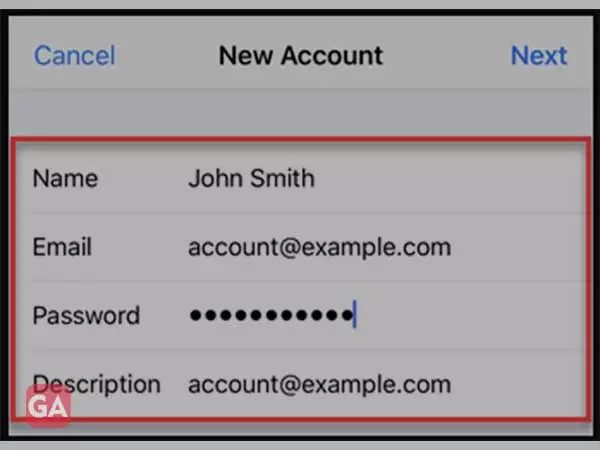
Step 6: User-Data
Now, to add your AT&T email account on your iPhone, you have to enter the following ‘User-Data’ of your account in the relevant text-fields—
Name: Enter your Full Name (it can be any sort of name) and tap on the ‘Next’ button.
Email: Enter your AT&T Account’s Email Address and tap on the ‘Next’ button
Password: Enter your AT&T Email Account Password and tap on the ‘Next’ button
Description: Input a short personal description or simple enter ‘AT&T Email.’
Step 7:Next
Once you’re done entering the aforementioned information of your AT&T email account, tap on the ‘Next’ button to enter ‘AT&T Email Server Settings.’
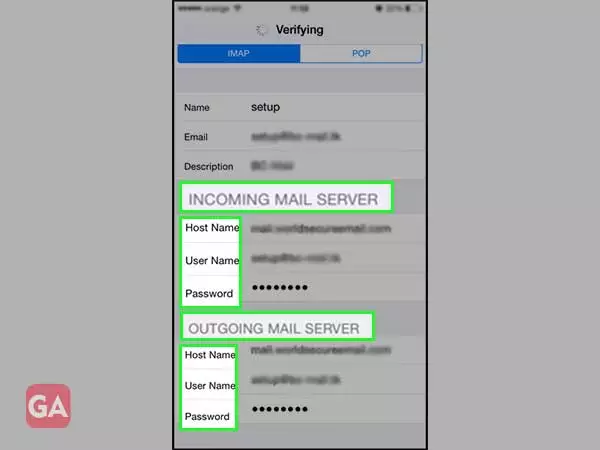
Step 8: Incoming Mail Server Settings
For entering the iPhone AT&T settings under the ‘Incoming Mail Server Settings’ section you have to choose either ‘IMAP’ or ‘POP3’ as your account-type option. So, based on your choice:
If you’ve selected ‘IMAP’ then, enter the following information—
Hostname: Enter ‘imap.mail.att.net’
Username: Enter your ‘AT&T Email Account ID’
Password: Enter your ‘AT&T Email Account Password’
And, if you’ve selected ‘POP3’ then, enter the following information—
Hostname: Enter ‘inbound.att.net’
Username: Enter your ‘AT&T Email Account ID’
Password: Enter your ‘AT&T Email Account Password’
Step 9: Outgoing Mail Server Settings
Similarly, under the ‘Outgoing Mail Server Settings’ section you have to enter the below-mentioned settings according to your choice of ‘IMAP’ or ‘POP3’ account-type.
If you’ve selected ‘IMAP’ then, enter the following information—
Hostname: Enter ‘smtp.mail.att.net’
Username: Enter your ‘AT&T Email Account ID’
Password: Enter your ‘AT&T Email Account Password’
And, if you’ve selected ‘POP3’ then, enter the following information—
Hostname: Enter ‘outbound.att.net’
Username: Enter your ‘AT&T Email Account ID’
Password: Enter your ‘AT&T Email Account Password’
Step 10: Save
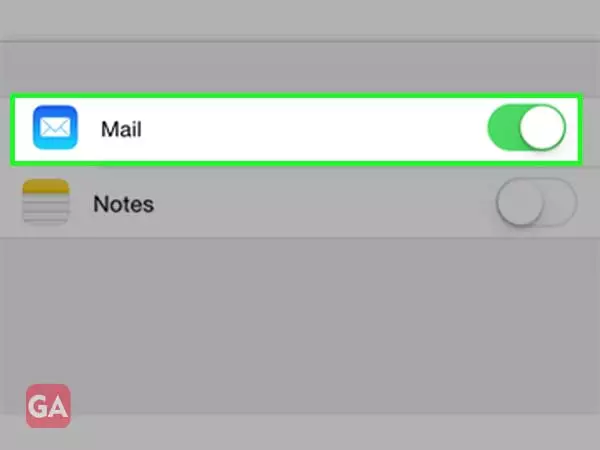
After carefully entering the aforementioned ‘Incoming and Outgoing Server Information,’ tap on the ‘Save’ option. This will save your AT&T email account on your iPhone.
Along with that, you have to make sure that ‘Mail’ option is checked.
Step 11: IncomingMail Server
Now you have to check if all the entered settings are correct or not! And, to do so, select your recently added ‘AT&T email account’ on the next screen.
Then, scroll down to tap on ‘Advanced’ option for ensuring that the following information appears on the screen—
Use SSL: Yes
Authentication: Your AT&T Password
Server Port: 993 (for IMAP) or 995 (for POP3)
Step 12: Outgoing Mail Server
Similarly, under the ‘Outgoing Mail Server,’ go to the ‘Mail Server Section’ and tap on ‘smtp.mail.att.net’ to ensure that, the following information appears on the screen—
Use SSL: Yes
Authentication: Your AT&T Password
Server Port: 465
Step 13: Done and Restart
Once you’re done with entering and verifying the server details of AT&T email, tap on the ‘Done’ button from the top-right corner.
Then, navigate back to the previous screen to exit from your iPhone’s ‘Settings.’
In the end, ‘Restart’ to your iPhone to finally finish the configuration process and to activate your added AT&T email account.
Step 14: Use AT&T Email Account on iPhone
Congratulations, your AT&T email account is now set up on your iPhone. You can now access your AT&T email account to send and receive att.net email on your iPhone device.
So, this is the entire setup process of how you can connect your iPhone to your AT&T email account using AT&T.net email provider. However, as said above, the configuration can also be done directly by selecting ‘Yahoo’ as the email provider. And, here you go with the steps of the same—
Open your iPhone device ‘Settings.’
Under it, tap on ‘Mail, Contacts and Calendars’.
Then, select the ‘Accounts’ option.
Further, tap on the option of ‘Add Account.’
Now, here you have to select ‘Yahoo’ instead of ‘Other’ as the email provider option.
Afterwards, the steps from ‘5 to 15’ are the same.
That’s it! Hopefully, this comprehensive step-by-step guide of the AT&T configuration process for iPhone devices will help all the AT&T email account holders in setting up their Att.net email account on iPhone (especially those who’re not from a technical background). However, if by any chance you’ll encounter an ‘AT&T Email Account not workingon iPhone’ issue after configuring the same on your iPhone device then, luckily we also have a detailed- troubleshooting guide for the same. And, we assure you that, it will be worth considering!