Screenshots are like our personal gallery, only we know their importance, and what they mean to us; Be it some gossip, or be it something important with stats. We all know how to take one, don’t we? But that’s just the case with mobile devices; what if we have to take screenshots on some other device like Windows PC? In this case, you may ponder on how to screenshot on Windows.
Well, nothing to worry about here. I have got your back. Continue reading, and you will get your answers on how to screenshot on pc.
Here I have gathered several methods to take screenshots on PC, have a look and see which device works best for you.
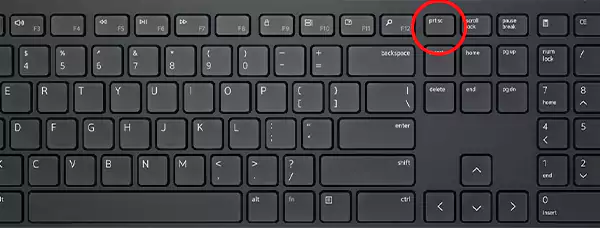
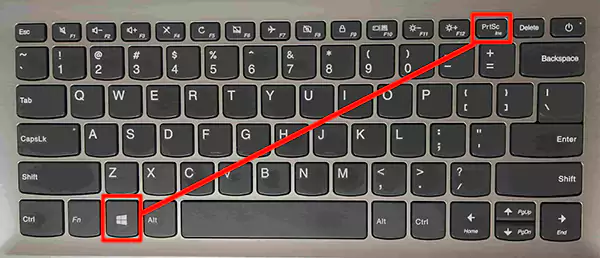
The very first and easiest way is to use the print screen key/shortcut to take a screenshot on Windows. The key to it is ‘prntscn.’ You can easily find this key from the top row of your keyboard where the Functions F# keys are located. So capture your entire screen for the screenshot, and to save it, all you have to do is press the Windows key and the Print Screen key, and you’ll have your screen captured.
Your screen will go slightly dim to indicate that a screenshot was just taken, and you can then find the taken screenshot from your ‘Pictures’ section on your device.
If you are looking for ways how to take a screenshot on Windows with a single active Window, then you can easily opt for this method.
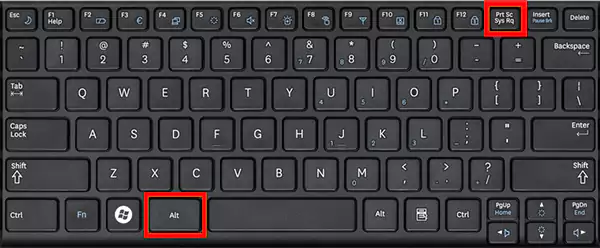
Here’s how to save the file on your device:
Here’s how to take screenshots on Windows using the Windows logo + Print Screen keys;
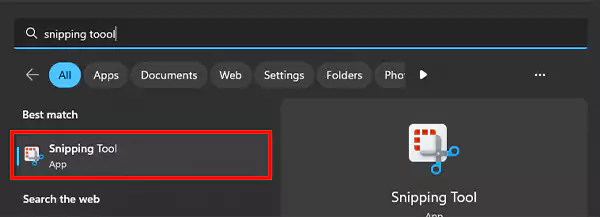
Did you know that your device already has a tool that lets you take a screenshot of any screen and any size? Well, if you didn’t, now you do. There’s a tool named the Snipping Tool on your Windows device that is solely made for screenshotting a screen. Let’s learn how to take a screenshot on Windows using the Snipping tool:
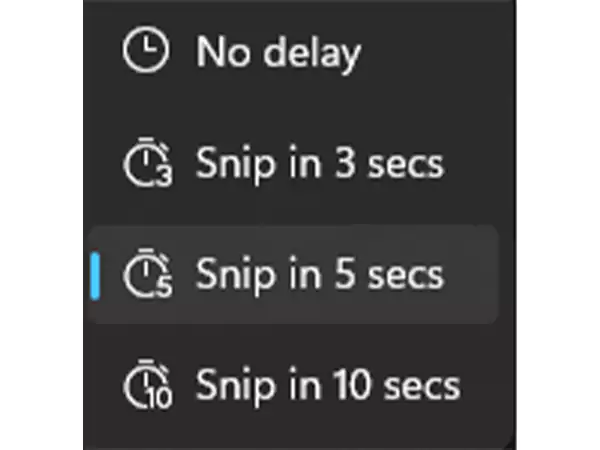
If you want to take a screenshot of a page that won’t let you press any other key, like the Gmail settings bar, you can set a timer on the Snipping tool and it will launch only after that. Here’s how to screenshot on a computer:

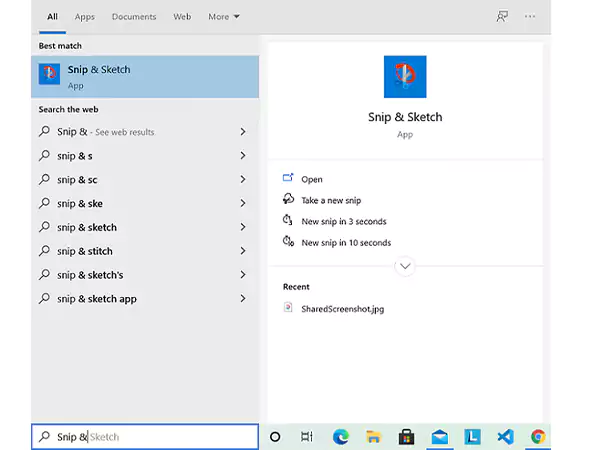
Now that you are well aware of the Snipping tool, you must also get familiarized with the Snip & Sketch app. The app recently replaced the Snipping tool on every Windows device. If you want to customize, share, or even annotate your captured screen, then Snip & Sketch app is perfect for you. Let’s have a look at how to screenshot on Windows with the Snip & Sketch app:
Since the tool is mostly like the Snipping Tool only, you can easily delay the snap by setting a timer on it. What has changed is the forms of captures you can take-
Plus, with Snip & Sketch, when you capture a snap, unlike the Snipping Tool, it will be automatically saved to your device. Hence, you won’t have to save the screenshot manually to your files.
If you are looking for ways how to take screenshots on Windows 10, then this is it; you can easily use the game bar to take screenshots on PC. In Windows 10, the game bar allows you to record the footage of your gameplay, record the videos, and even take a screenshot of a particular screen in it, and attain many other tasks as well. In fact, you can take screenshots in the game bar even if you are not playing or not in the game at the moment; let’s see how:
Not many people know about this, but there’s one more way to take a screenshot on a PC. For this, all you have to do is press the power button and the volume button simultaneously. Just by this, your screen will go a little dim, and you’ll have your screenshot saved in the Pictures folder on your device.
However, if you have a Surface 3 or earlier version and you are looking for ways on how do you screenshot on a computer, all you have to do is press the Windows button and the Volume button down on your device.
Well, if none of the above methods worked out for you, maybe you are locked out of your Windows 10, but before that, I have something more for you, you can always use any third-party app. All you have to do is look for a reliable and established third-party app, install it on your device, and use it to take screenshots on Windows.
It often happens that the Windows-provided methods don’t work out in capturing screenshots, this is where third-party apps come to the rescue. They come with some integral and innovative features that make taking screenshots on any device or app easier than ever. Here are some of our top recommendations:
ScreenRec– A free Windows screen recording tool that lets you capture the screen and even record the screen for free. It also has some tools and features that let you annotate your recording.
Greenshot– Another free tool that not just lets you take screenshots but also enables you to edit and customize them in various ways.
Lightsocial– One of the most preferred and used screenshotting tools on Windows. As the name says, it is specially designed for quick social sharing. Once installed on Windows, it replaces the Print Screen functions, offering more editing features.
And this is it; these were all the ways you can use to take screenshots on a PC. I hope one of them must have worked out for you solving your query of how to screenshot on a computer.