You might agree that the word email reminds you of the most prominent and one of the largest email service providers, Google’s Gmail.
While being aware of countless Gmail tips and tricks, many loyal fans still don’t know about the signature feature of this online email service.
Adding it to your Gmail will make your account look more professional, and considered one of the best ways to provide recipients with your contact details.
That said, if you want to know how to add signature in Gmail with images and want to give your email account a professional look, read this article in its entirety.
Placed at the button of your email, the signature consists of all your essential information. However, adding one can work effectively for both personal and professional accounts.
Moreover, you can personalize your email signature depending on the device you are using. Nevertheless, the steps for PC and mobile are slightly different.
If you’re on a PC/Mac, you can follow the steps on how to add signature in Gmail to personalize your email account.

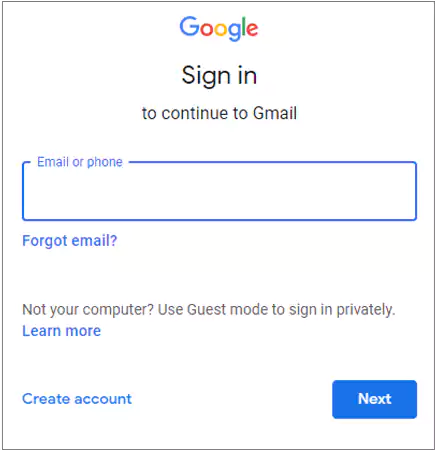


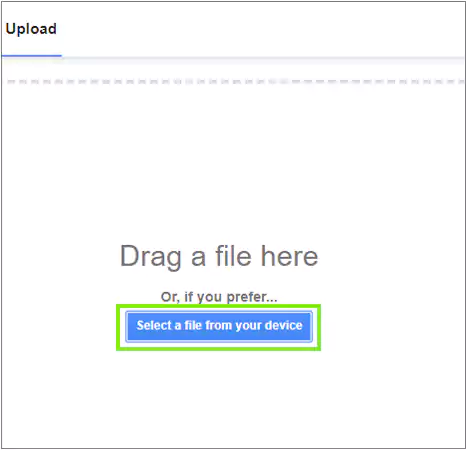


So, by following the steps on how to add Gmail signature, you can add your signature to Gmail and make your account more reliable.
In order to create a signature in Gmail on an Android or iOS device, you must install the application. Follow the steps given below on how to create signature in Gmail via a mobile.


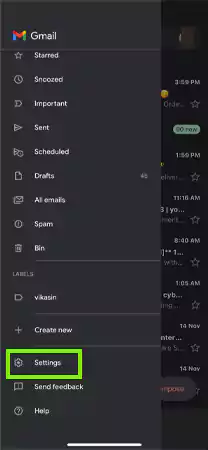
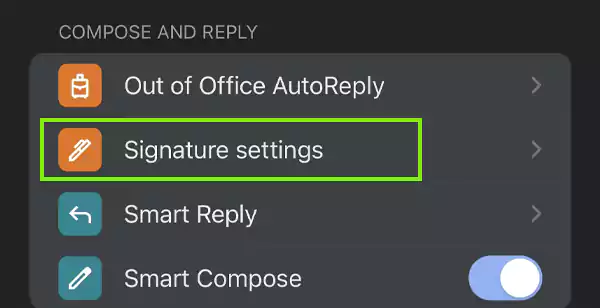
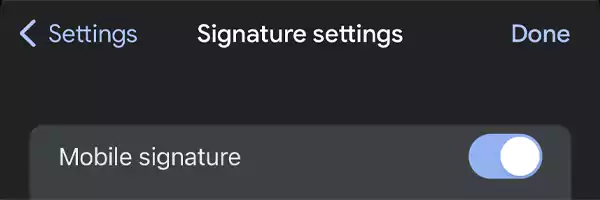

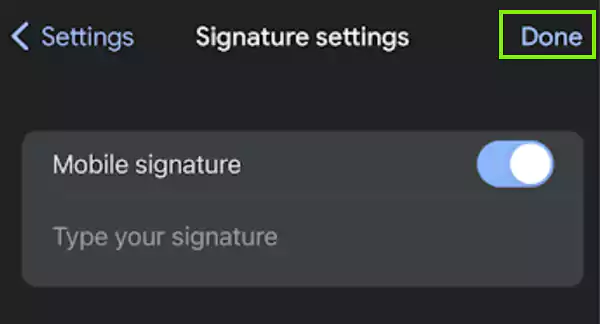
This way, you can create a signature in minutes using the Gmail mobile app. If it doesn’t appear, there might be a possibility that your Gmail app is not working or might be facing some update glitches. Refresh or restart the app to avoid further inconvenience.
Updating or changing the existing email signature is easier than creating a new one. However, multiple signatures can increase the likelihood of confusion.
So, if you want to reform or update your signatures, follow the steps mentioned below:
Remember, do not exaggerate creativity with font styles and images, otherwise, it will end up looking unprofessional and messy.
Sending emails from your Gmail account includes a signature with important information like title, name, company name, image, company logo, etc. which leaves a professional impression on the recipient. Thus, it makes clear to the receivers that you are contacting them on behalf of the company, but not your own.
Let’s take a look at some importance of email signatures–
Thus, email signatures are a powerful technique to elevate brand recognition and professionalism, resulting in benefits in business.
Adding a Gmail signature can seem complicated for those who haven’t tried it yet. But this guide will make this work pretty simple for you. Moreover, it helps to optimize your account into a professional one.
However, it is essential to include a signature while composing and sending emails via Gmail to nurture brand identity, to promote your company and its services, or to you as a person.
Open the Gmail app >> Menu >> Settings>> Signature Settings>> Mobile signature>> Enter the text in the box.
To create multiple signatures, open Gmail>> Settings>> See all settings>> Scroll down to Signature>> Create new and add multiple signatures.
To change, Open the Gmail app>> Menu>> Settings>> Signature settings>> and change or edit the text in the box.
The ideal size should be about 80 pixels in height and up to 200 pixels wide.
Your signature will not show up if you forget to switch on the signature default settings. Ensure your signature is set up to appear in new emails.
