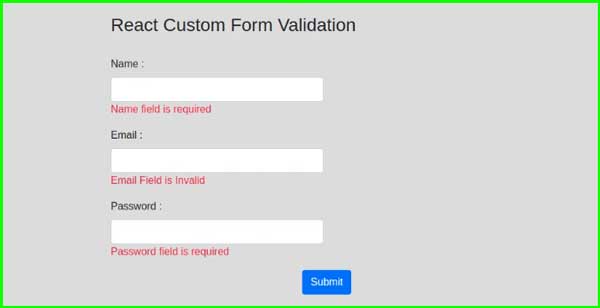
In today’s blog, we will be going to show you how to send emails with Reactjs, through a form to yourself. Also, you will learn how to validate an email address in the react.js form using the regex pattern in the react application.
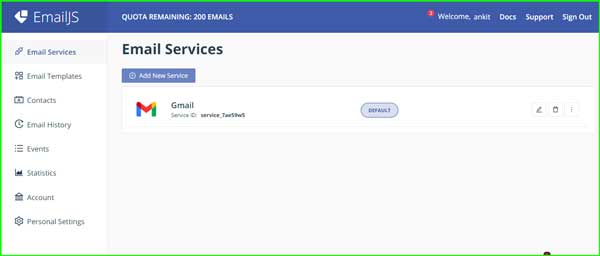
First, you have to sign-up and create a free account. Once it’s done, you have to click on this https://www.emailjs.com/ URL for further process. Click on the doc option present on the top of your screen to see the Email services option on the new page to add Gmail as a new service. Here I am going to show you how to do Gmail.
So you need just to click on Gmail and connect your account, then add service and so it’s going to send you a test email. Check it by using your Gmail App.
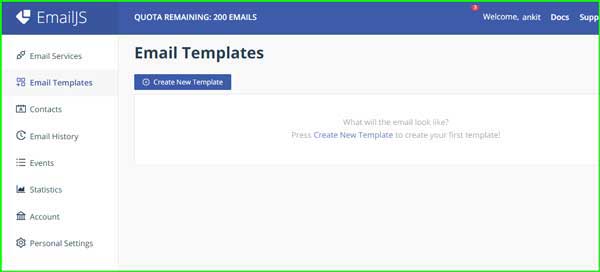
Now we need to go to the email templates option present on the left side of the screen and click on it.

Clicks on the option “Create New Template” to create a new template for you.
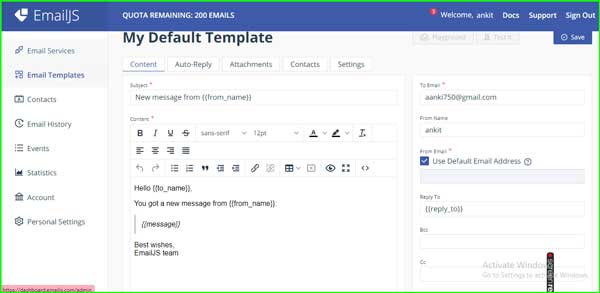
You will get a new page showing the format of the emails you have to follow. Heed this format and add the recipient’s id to send the email.
Let’s see the code and setup now. The very first thing you should do is to install the email.js by typing npm install email js.com, then save.
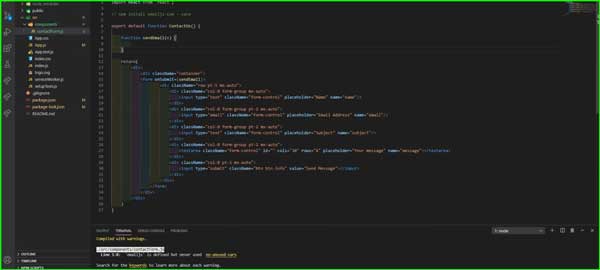
Once you have brought the content of that function, there are four different parameters here that we need to address
Let’s go ahead and change this to Gmail. We need to search the template id first, go back to the “Email Template” option, and then copy the template id as shown in the pic.

Now for the service id, you are going to go back to the website on the “Email Service” option. There you will get your Service id as shown in the pic.
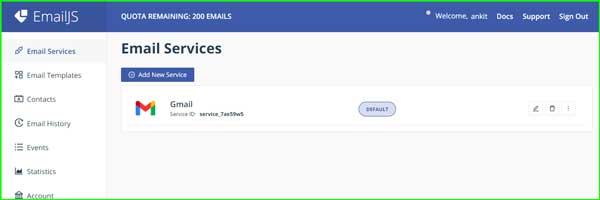
For the Public keys, you have to tap on your Name shown in the top-right corner of the screen. Once you tap on it a new page will open and you can get the Public keys as shown in the pic.

For Form, you have to come back to the homepage and click on the ‘Docs’ option present in the top-right corner of the screen.
Once you click on the “Docs” option a new tab will open on your screen. Select the option “React” and click on it.

Now you will get all the procedures in code language as shown in the pic. From there copy the form code only and paste it into the source code page.

Well, now you are ready to run the app. First, you have to fill out the form properly and send it. Now open your inbox and check whether you got it right or not. If yes – congrats, now you are ready to use Email js to send the emails to Gmail directly.
You have to follow the below-mentioned command to download and create a new react application.

Move inside the application root

Once you have created and downloaded the bootstrap, which is optional, you have to follow the below-mentioned commands to move ahead.
| npm, install bootstrap |
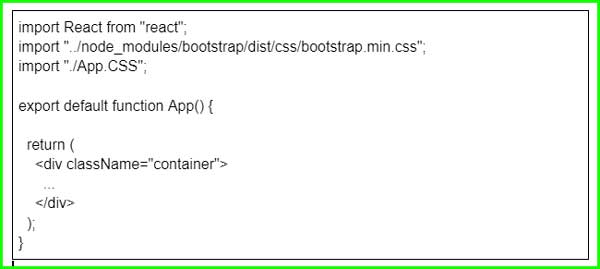
After you have downloaded and installed Bootstrap now, import the bootstrap.min.css file in the main App.js component to move further,
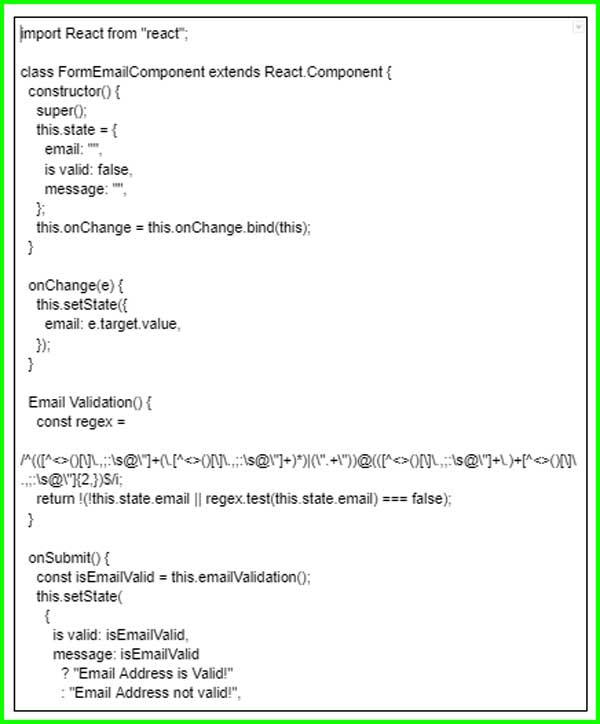
Now we have to move towards the src folder and create a new file named form-email.component.js with the ~src/form-email.component.js location, which helps to provide output validation to the parent component.
An email Validation() function helps to validate the email by providing true or false results once the strings get matched.
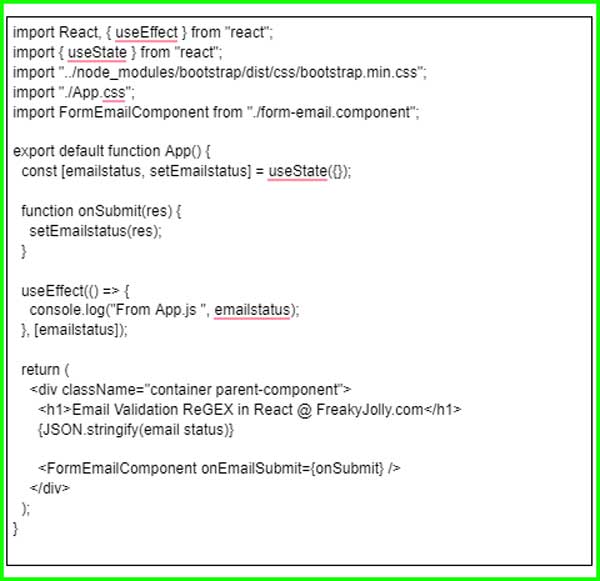
As the email validation component is ready now, you have to add the FormEmailComponent in the React.js App file.
To add it you have to open the React.js App file and update the code in this given format.
Now tap on the start button to run the application at the following URL:
| http://localhost:3000 |
