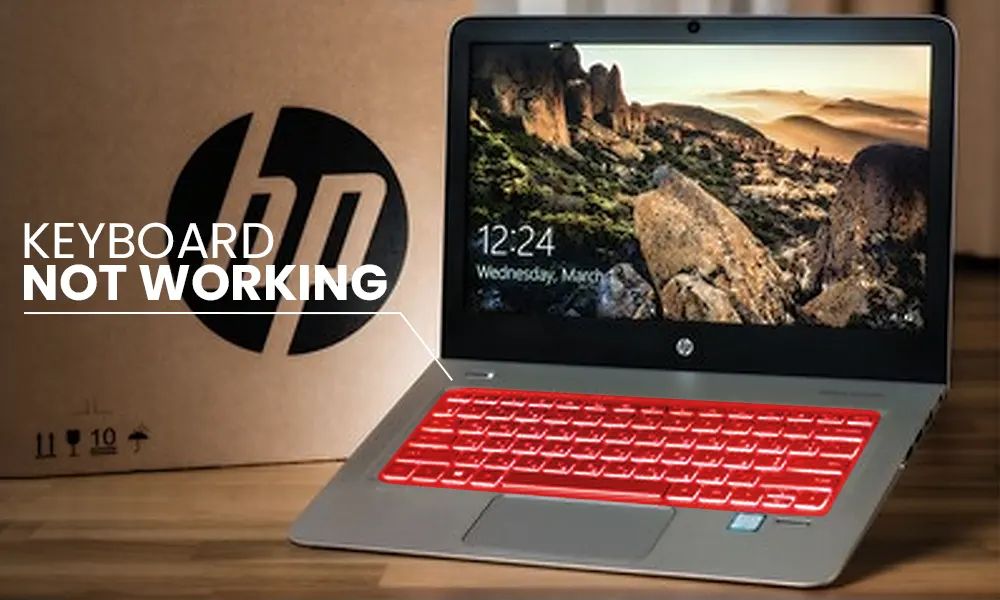
At times, when you give print command and your printer doesn’t print, what could be the reason? This may happen for several reasons and one of them could be “Driver is unavailable”. Even most of the HP users have complained that their printer driver is unavailable. This error implies that your computer has failed to recognize your printer, thus you will not be able to print or scan until the issue gets resolved.
Before looking into the solutions, let’s understand what it means when the driver is not available.
- The printer driver is not updated
- The driver installed is corrupt
- You haven’t installed the Windows updates
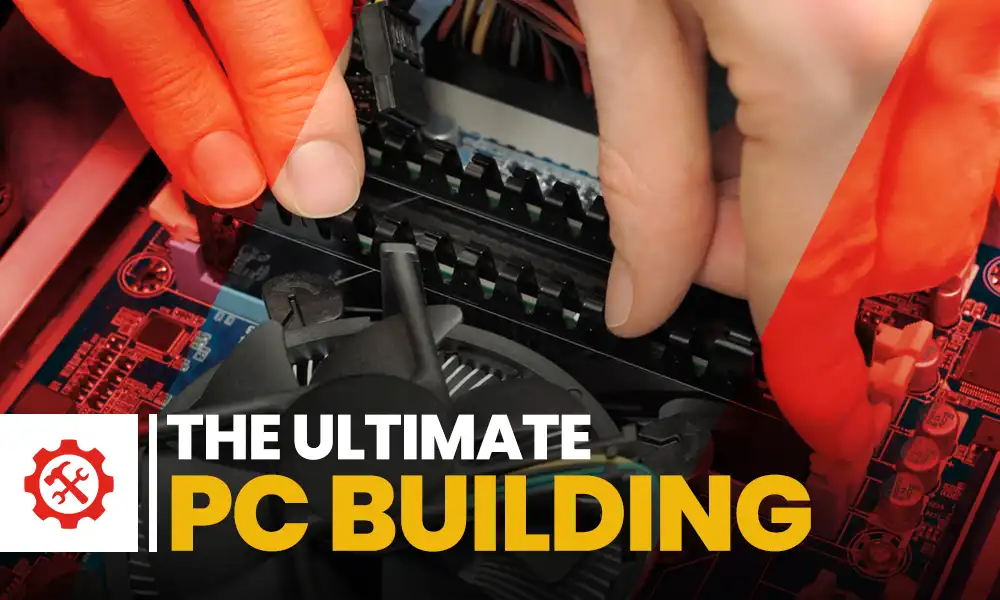
4 Ways You Can Fix Printer Driver is Unavailable on Windows 10
So if you cannot find printer driver on Windows 10, you can try the troubleshooting tips provided further in this guide:
Get the Updates for Windows 10
If the system doesn’t have the required updates, you may keep getting the Driver is unavailable error over and over again. So if your Windows 10 is going outdated, make sure to get the updates to fix the issue as follows:
- Click on the ‘Start’ menu; enter ‘Update’ in the search box and click on ‘Check for Updates’ from the results.
- If the updates will be available, Windows will get them automatically.
- Once Windows is done updating, restart the system.
- Try printing a document and check if the error has been fixed.
Uninstalling and Reinstalling the Printer
If you are still looking for help, you may be required to uninstall your printer and then reinstall it. Here are the steps for the same:
- Press the ‘Windows key’ and ‘R’ at the same time to open the dialog box and press ‘enter’.
- In the control panel, out of the given options; look for ‘Devices and Printers’.
- You will see the list of all the printers, right-click on the printer and click on ‘Remove Device’.
- Press Windows + R, type ‘devmgmt.msc’ and go to the option ‘Print queues’. Right-click on your printing device and click on ‘Uninstall device’.
- Again press Windows + R, type ‘appwiz.cpl’ in the box and press Enter. From the list of all the applications, right-click on your printer applications and hit ‘Uninstall’.
- Once you are done with all the above steps, disconnect your printer from the computer if it is connected via USB or detach it from the router if it is connected wirelessly. Turn off the computer, printer, and router by plugging out their power supply.
- After 10 minutes, reconnect everything and start all the modules. Connect the printer and the computer via a USB cable. Let it detect the printer and then start installing the required drivers.
- Go back to the Control Panel, right-click on the printer and click ‘Set as default printer’. Try to print a test page and check if the issue with the driver got fixed.
Reinstall the Printer Driver
If the error is still there, the possibility is your device has a missing or corrupted driver. Getting the latest driver installed for your printer can be the way out of this problem. So here is how you can install the latest driver for your printer:
- Press the ‘Windows key’ plus ‘R’ together to open the ‘Run’ dialog box.
- In the dialog box, enter devmgmt.msc and click on ‘Ok’.
- Look for the driver of your printer, right-click on it and select ‘Uninstall’.
- Click on ‘Uninstall’ to confirm the action.
- After the driver has been uninstalled, you can visit the manufacturer’s website to get the latest version for your printer.
- Download and install the selected printer driver on your device.
- Thereafter, check if the issue with the driver got resolved.
Reinstalling The Printer Driver Manually
This may also happen that the printer was working fine but due to one of the Windows Updates, it got broken and started showing ‘Printer driver is unavailable’. The updates for drivers provided by Windows may not work for all devices.
If this happens, try updating the printer drivers manually. For this, you need to manually update the selected driver and then disable the Windows from updating the printer driver.
Before you begin, go to the manufacturer’s website and download the required drivers for your hardware to an available location and then proceed with the steps enumerated below:
- Press Windows + R to open the Run dialog box, type ‘devmgmt.msc’ and hit Enter.
- The device manager will open, go through the hardware and open the sub-menu ‘Print queues’. Right-click on the hardware of the printer and choose ‘Update driver’.
- A dialogue box will appear asking you how you want to update your driver. Click on the option ‘Browse computer for driver software’.
- Select the downloaded file and update it accordingly. For some, the printer may not be accessible in the device manager. In such cases, just run the installer and the driver will be automatically installed.
- Check if the printer is working fine, if yes, go to the official website of Microsoft and download the package “wushowhide.diagcab”. After that, run the package and click ‘Next’. From
- From the given options, select ‘Hide Updates’. Then select the printer update and thereafter, the Windows update will not update the drivers of the printer automatically until you ask it to.
All the above troubleshooting methods can be applied for most of the printer drivers such as HP, Brother, Canon, and others, except for a slight difference.
Senior Web Writer and Video Creator