Tired of cropping screenshots on Mac and want to learn how to snip on Mac? As you are new to the macOS ecosystem, don’t be confused because it’s not that complicated. Due to the latest updates and new feature additions, Snipping on Mac can be done in multiple ways, which we are going to explore in this detailed article of GetAssist.
Before learning how to snip on Mac, we need to understand the basic overview of the snipping tool. It is an inbuilt feature in the Apple MacBook Pro and other macOS-equipped systems that helps to take a precise screenshot of the object present on the screen without the hassle of cutting and cropping in other software.
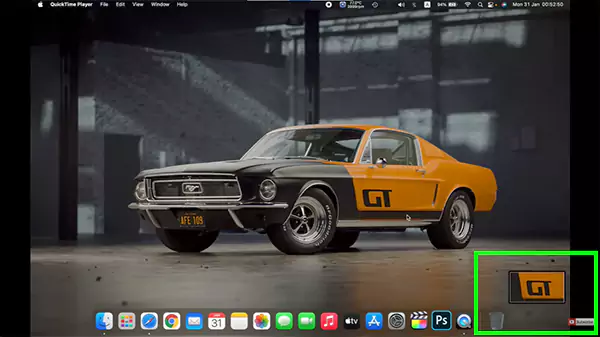
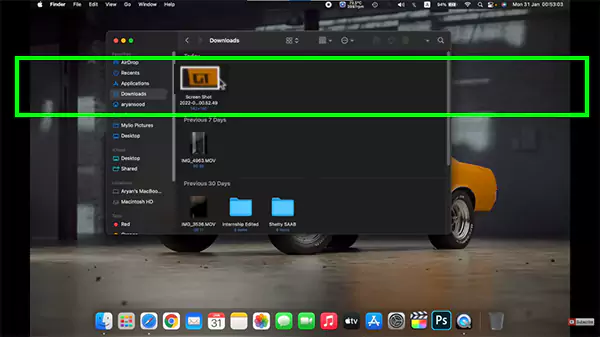
When the screenshot is taken, it is automatically saved on the clipboard and in the files of your system. This often feels like one of the most seamless features, like pairing AirPods to a MacBook.
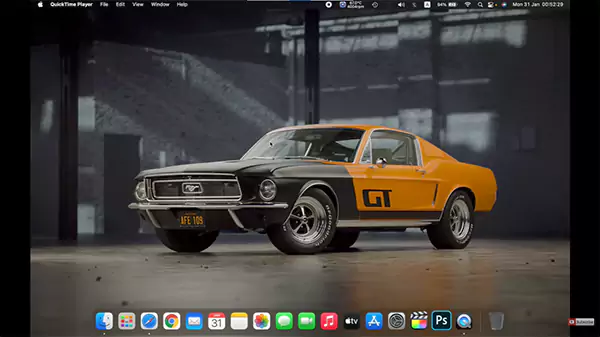
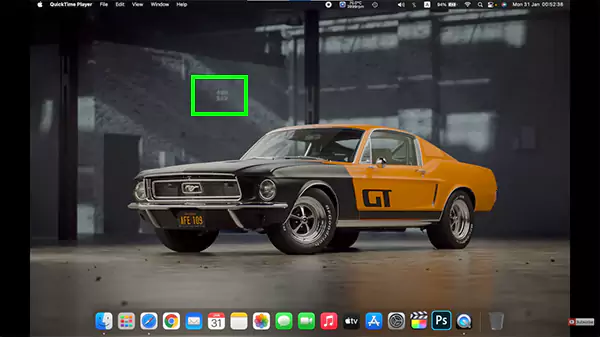
Now, let’s learn how to snip on Mac in a few easy steps. First, we are going to look at only the official way of snipping the screen
This is an overview of a single feature in the macOS ecosystem. But if you want to explore the utilities of your MacBook, that too in video format, then you can check out the GetAssist YouTube channel and subscribe to it, along with pressing the bell icon for the latest update.
Snipping tool MacBook provides some simple yet effective benefits to its users due to its accessibility and quick haptic feedback. The attributes of this feature include:
Now, there are so many third-party alternatives to the MacBook snipping tool that are often used by working professionals for multitasking projects, but only a few of them work well in every situation, like:
In the final note of how to snip on mac, we just want to say that there are a number of different methods for taking screenshots on a Mac OS computer. While using third-party tools is a personal preference, in general, you do not need any other software or learn new techniques when you use these built-in provisions to take screenshots.
No dedicated “Snipping Tool” application exists, but macOS provides comprehensive screenshot and screen recording features via keyboard shortcuts and the Screenshot toolbar (Shift + Command + 5).
The built-in tools do not support scrolling captures. To capture a full webpage or long document, third‑party tools
Use Shift + Command + 5 and choose the screen recording option. To record audio, click “Options” and select a microphone source before starting the recording.