When you add an IMAP, Exchange, Outlook.com, or Microsoft 365 (formerly Office 365) email account in MS Outlook, it creates a local Offline Storage Table or OST file at a default location. The OST, also referred to as the Offline Outlook data file or Outlook cache file, stores a synchronized copy of all your mail items, such as emails, contacts, calendars, attachments, etc., on your local storage. It allows users to access their mail items even when the system is offline or not connected to the server.
It is not recommended to remove the default OST file as it can have a severe impact and may result in data loss. But sometimes, it becomes inevitable to delete the OST file. Following are some common reasons that may force you to remove or delete the default OST file from your system to recreate or rebuild a new one.
In this article, you will learn how to safely remove the default OST file from your system to recreate a new one in the Outlook client on Windows.
Follow the steps below in the given order to remove the default OST file from your system without any risk of data loss.
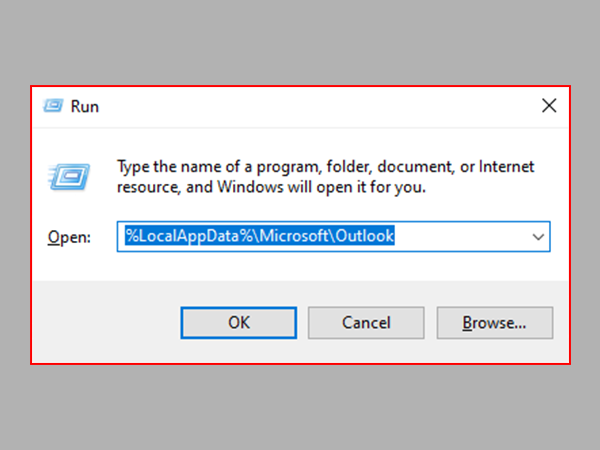
The default OST file is located in the %LocalAppData% folder location. To locate the default OST, follow these instructions:
Alternatively, you can open Control Panel, search and click Mail > Data Files.
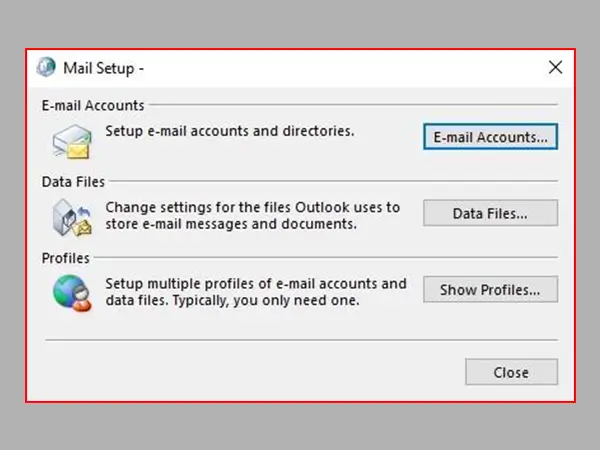
This helps you locate the OST file when you can’t access the Outlook options.
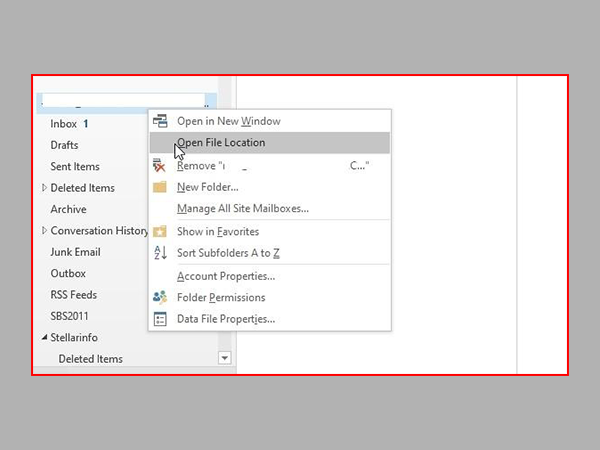
If you don’t find your OST file at this location, it could be customized by the administrator or user via Group Policies (GPOs) or manually via registry keys, or while setting up the account. In such a case, follow these steps:
Before removing or deleting the default OST file, take a backup of the file. This helps to avoid losing mail items in case something goes wrong.
To back up the OST file, copy the file to another location. Make sure Outlook is closed when you back up the OST file. Otherwise, you may encounter an error.
If you have access to Outlook, you may also use the Outlook Import/Export wizard to export the mail items from the default OST file to Outlook-supported PST format. Follow these steps:
Once you have created a backup of your default OST file, you may remove it from the location. For this, you need to close Outlook and perform any of the following changes to remove and recreate a new OST:
Once you perform these actions and start Outlook, the client will look for the default OST. Since you have removed or renamed it, Outlook will create a new OST file at the same location. It will start synchronization, download all mail items from the mailbox server, and store them in the new OST file.
It’s possible that the newly created OST may not have all mail items or may have missing emails. In such cases, you can use an OST to PST converter software, such as Stellar Converter for OST, to convert the backup OST file to Outlook importable PST format and restore the missing mail items, such as contacts, emails, etc. You may also use the software to convert and export the OST file directly to an existing Outlook profile, Office 365 mailbox, or Live Exchange Server.
Also Read: How to Transfer Emails to Outlook from Any System
You should only remove the default OST file if you encounter OST or Outlook data file-related errors, performance issues, synchronization errors, etc. That too after creating the OST file backup to another location. In this article, we have shared stepwise instructions to help you safely remove the default OST file to recreate a new one.
To restore missing mail items, you can use the OST to PST converter tool, such as Stellar Converter for OST. It also recovers deleted mail items and exports the mail items from OST to Outlook profile, Office 365, or Live Exchange Server.