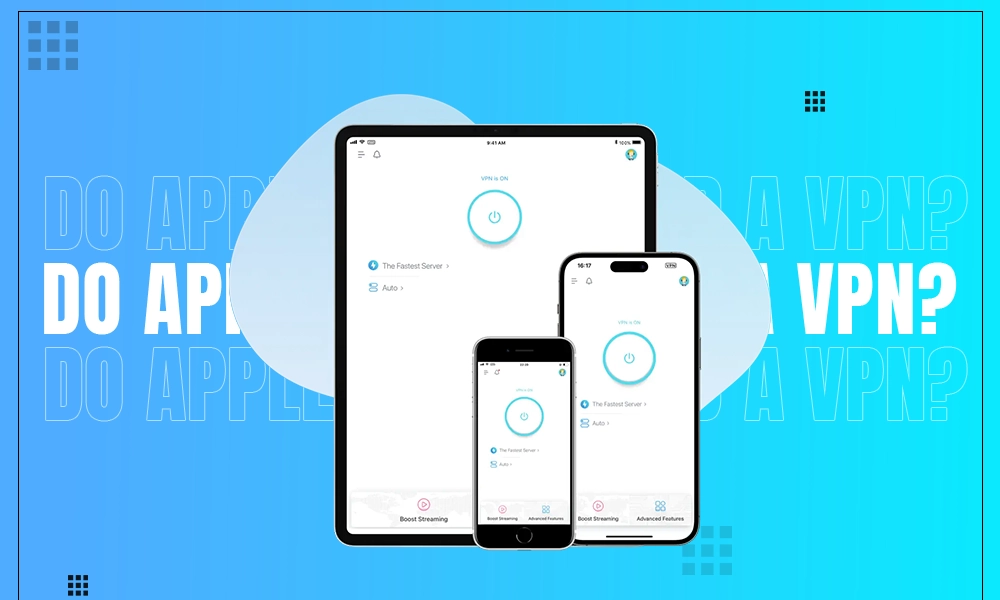
A VPN server is a versatile tool that is in many cases indispensable in today’s world. It can boost your privacy and secure your data while the “side effect” of being able to access the internet from another region opens a whole bunch of useful applications like accessing the resources that are blocked in your country or conducting market research of the specific region of your VPN server.
There are several ways of accessing a VPN server. First of all, you definitely know that there are lots of free and paid services that you can access by googling and which you definitely had already found in case you felt the need for VPN service before.
However, there is another way around it – in fact, you can build and configure your VPN server by yourself using Linux VPS hosting. It’s important to note right away that this approach isn’t universal and has certain limitations, you’ll have to go to a VPN service provider to achieve some specific goal or to make your life easier, but the skill of building and configuring your own VPN will be useful anyway.
Before diving into any subject matter, it’s important to figure out why. When we are dealing with a self-made VPN, we are avoiding a bunch of pitfalls that otherwise can be present on a commercial VPS. So, let’s look at the advantages provided by it.
It’s clear that by making things by yourself you save money by not paying for the service in question. On the other hand, many common VPN service providers offer a bit unflexible plans, where you’ll have to pay a lot unless you take an annual or even biennial plan. The hosting plans for VPN are usually much more convenient from this point of view, and even the cheapest VPS will be more than enough. You can cancel the service anytime and renew it when you need it again, without being bound to a rigid annual plan.
There are dozens if not hundreds of VPN service providers that you can find on the web, and the choice between them can be daunting while the cost may vary. You won’t know exactly until you try whether their quality will be sufficient for you. On the other hand, you won’t know exactly if this or that provider monitors your data or sells it to third parties.
With your own VPN server, you will know exactly how what is going on with your data as the server is yours, while the performance will depend only on the VPS you rent. That is to say, there are much fewer variables that can determine the quality of the service, so it is almost completely transparent to you.
Of course, with little research, you can find a good and trusted VPN provider that offers services convenient for you and for a reasonable price, but won’t this research take even more than just doing things on your own?
Another benefit of using a VPS for a VPN is that you in fact have a VPS. And you can use this VPS for further purposes than just for VPN. If you are a regular user, you can use it as storage and for remote access to your files and application. You can use it as a game server if you engage and gaming. And if you are a site owner, you probably know what to do with it. In this case, a VPN might play a secondary role with respect to your website, and using your VPS for a VPN as well will be a rational use of resources.
There are, however, a couple of downsides to a self-made VPN server.
Now, let’s have a look at how to actually install and configure your VPN service on your Linux VPS using Ubuntu.
cat /dev/net/tun
If TUN/TAP is enabled, you’ll see the following message:
cat: /dev/net/tun: File descriptor in a bad state.
First, log in to your VPS via SSH as the root user. Now, use the following commands:
apt update && apt -y install ca-certificates wget net-tools gnupg
wget -qO – https://as-repository.openvpn.net/as-repo-public.gpg | apt-key add –
echo “deb http://as-repository.openvpn.net/as/debian focal main”>/etc/apt/sources.list.d/openvpn-as-repo.list
apt update && apt -y install openvpn-as
After the installation, you’ll get admin UI address and client UI address as well as the UI login information which you’ll need for further configuration.
A VPN is a versatile tool becoming increasingly useful in the modern-day world. However, you might have not known that besides the common option of buying a ready VPN solution from one a provider from the market, you can create a VPN server on your own using a VPS server, which has a bunch of advantages including being cheap and transparent, though requiring you to perform a bunch of operations. We hope that this article what’s what, thank you for your attention! Take care!