Editing a video might be daunting. There will be numerous errors and crucial decisions you will make along the way, including finding the right video tool for cropping. Many flaws, however, can be corrected with a few simple post-production changes. Don’t be scared to make mistakes; they’ve given rise to some of the most ingenious video editing “techniques.”
This article will describe said techniques that current-day professionals have polished.
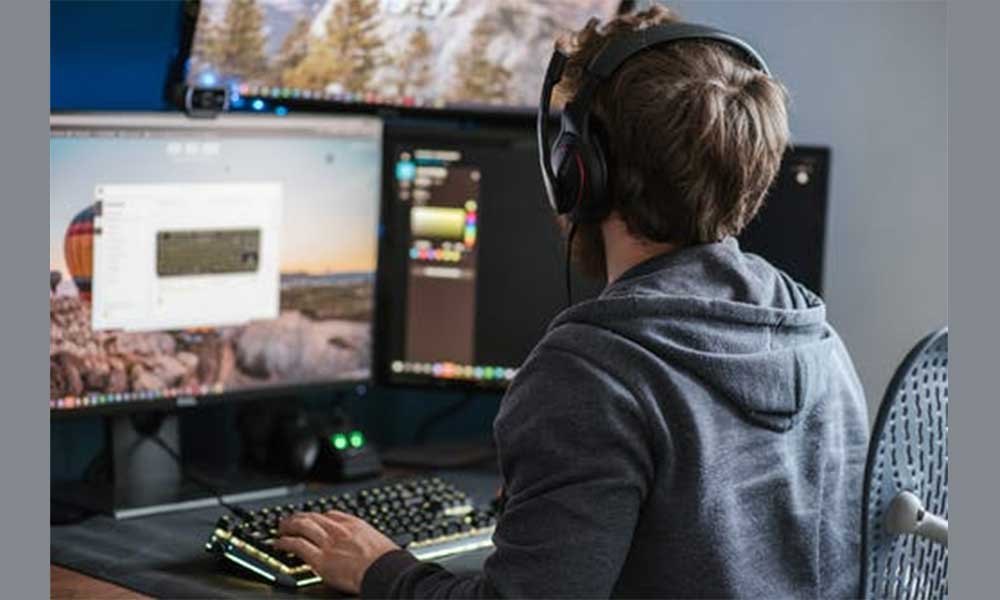
Even if you merely use an old TV or an auxiliary monitor, having greater screen space when editing saves time by allowing you to see more at once. Edit timeline on ultra-wide monitor, file management and effects windows on a vertical monitor, full-screen video playback on a third monitor.
It gets annoying to get up mid-editing to film a transition shot. It helps to have them in stock or quickly look them up online. You can filter the video clips by category, resolution, and even clip length. A subscription to a website that offers stock footage always comes in handy and doesn’t charge more than you would spend on a few coffees.
The more you have to use your mouse when editing video, the slower you will be. Make a concerted effort to learn as many keyboard shortcuts as possible and use them instead. Hover over any button to see all of them, or use the keyboard shortcut menu to see the shortcuts in the dropdown menus. Use them regularly, so it turns into muscle memory.
You’ll notice a significant lag if your computer cannot play your video files smoothly and you frequently have to halt your timeline. While you can reduce playback quality, you can also generate proxies — less-detailed copies of your video files that stay linked to the originals. With 720p or 480p resolution, even older laptops can playback without hassle!
Simply right-click your files, select build proxies, and choose a quality preset. When exporting, all original files are utilized at original resolution. This is especially useful if you’re editing on a laptop and shooting in 4K.
Focus on one task at a time when editing. Here are the seven organized steps to edit videos:
Instead of becoming lost in an idea or being distracted by a problem, use markers to return to it later. Then you can aggregate audio changes, graphics, and exposure difficulties.
If you want to cut an A-Roll of someone presenting directly to the camera, try editing it backward first. The best takes will likely come at the end of each tried section of a script or blueprint. Instead of going through all the mistakes, you can just grab the best takes.
You can expedite the process even further by leaving visual or audible remarks for the video’s future editor while filming. For example, spikes in audio waveforms are caused by three snaps or claps. Then, while editing, you see that the section immediately preceding those three spikes is erroneous and may delete it without looking. This is applicable for both A-Roll and B-Roll.
When you’re ready to incorporate your b-roll into your main sequence with your a-roll, stack the two timelines in your editing program on top of each other. You may rapidly copy and paste clips from the top b-roll timeline into the bottom sequence in this way. If you’re struggling to keep track of the b-roll clips, either disable them or drag them to a higher track to indicate that they’ve previously been used.
Anyone can make a movie, but it’s important to have the same fonts, colors and sizes throughout. The most common text and design mistake beginners make is using various fonts, font colors, and colors that distract the user from the material.
Pick a font and stick with it. Use it for bottom thirds, title cards, and preferably in a single hue. Then adapt your creativity. If you find yourself saying, “But it ’s adorable!” it’s time to change.
And now you’re set to watch your video for the first time. Suddenly, the frame above your subject’s head seems too empty. Know your subject’s background before you record. Note how much open space is nearby!
If you shoot in HD (1920 1080), use a 1280×720 timeline to edit to fix it. Your shot will preserve its aspect ratio and give you more area to maneuver.
These pointers can help you speed up the process and edit like a master while avoiding frequent pitfalls if you’re new to video editing. The purpose of any edit should always be to communicate your tale, which may necessitate breaking some industry rules to make your article more unique.