Screenshots are great for sharing information with colleagues, friends, and family. While the Windows screenshot feature has been there for years, Windows 11 has introduced some updates to make it even more convenient.
According to reports, almost 70% of people worldwide use Windows computers. Microsoft has improved classic tools and added some new features as well. So, learning how to take screenshots on Windows 11 is essential for many users.
I will walk you through 6 easiest ways to take screenshots in Windows 11. This will help you save and share your digital life without any hassle.
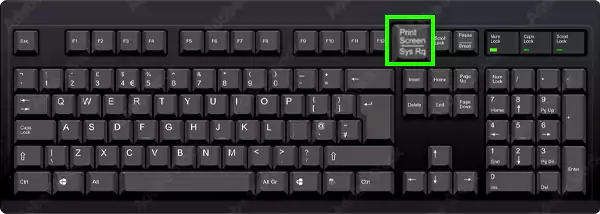
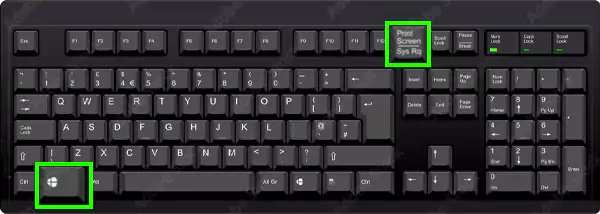
Let’s start with the old-school way of taking a screenshot on a Windows PC. This involves using the Print Screen key, usually located at the top-right corner of your keyboard. Depending on the brand, it may be labeled as Print Screen, PrtScn, PrtSc, or PrntScrn.


Moving on, let’s see how you can use the Snipping Tool to take the screenshot.
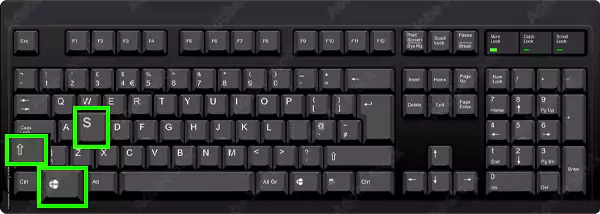
Another way is to use the Snipping Tool available on Windows. The new version of Windows 11 combines the features of the original Snipping Tool and Snip and Sketch. Here’s how to take screenshots using the new tool:

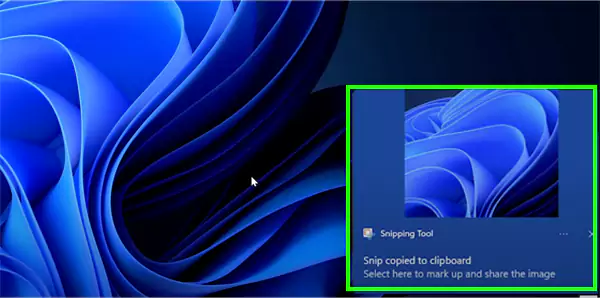
Furthermore, you can also choose to click on the thumbnail to open the tool and edit your screenshots.
How do I take a screenshot on my computer and auto-save it in a folder? Using the following keyboard command for screenshots will help you achieve that.
So, if you take frequent screenshots, here’s a quick way to save them directly as image files in Windows 11;
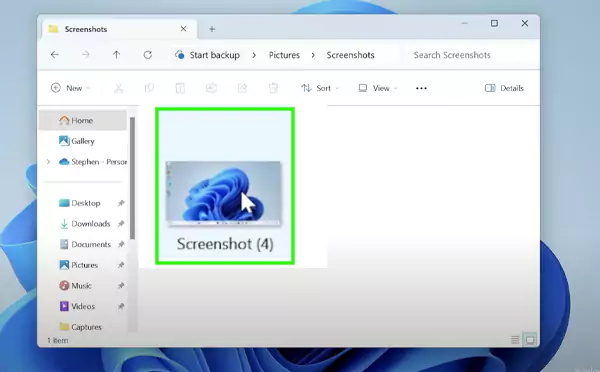
To locate it easily, you can search for Screenshots in the search bar of your Start menu.
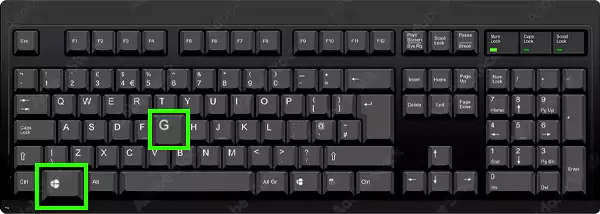
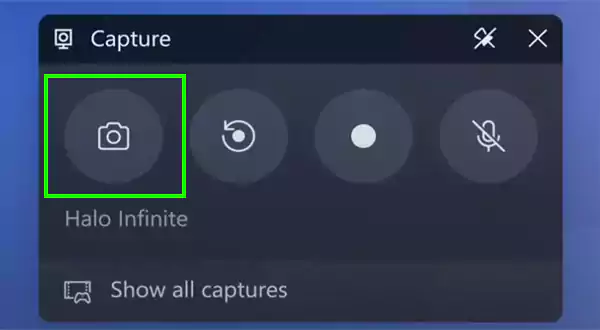
Apart from the above solutions, you can also use the Xbox game bar of your Windows 11 to take a screenshot. Here are the steps you need to take:
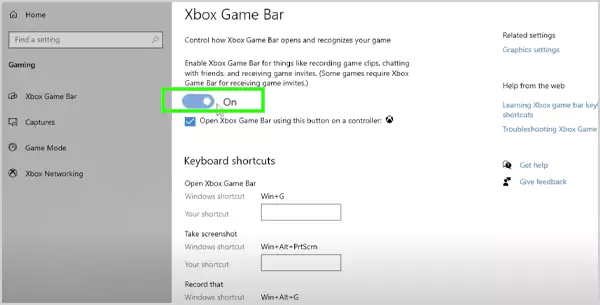
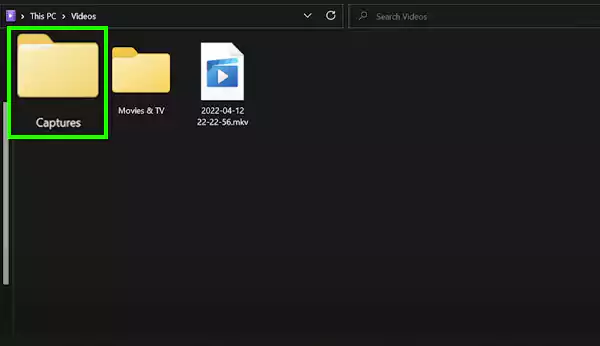
That’s it! Screenshots taken with the help of the Game bar will be saved in the Captures folder.
It is a bit different to take screenshots on a Windows Surface tablet unless you have a connected keyboard. If you have a Surface pen, you can use it to open the Snipping Tool by double-tapping its back button.
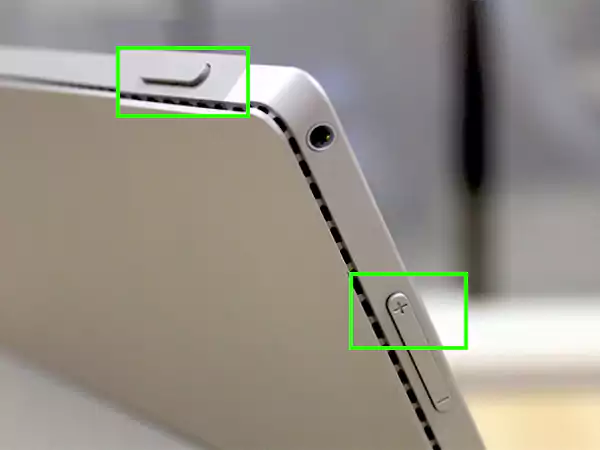
You can also press the Volume Up and Power buttons together to directly take a screenshot on your device. However, you will need to make sure that you press both at the same time to avoid turning off the screen.
Your screenshot will be saved in the Pictures > Screenshots folder. If you have an older tablet, you can try using the Fn + Windows + Spacebar key combination or the Power button and Windows button combo.
Last but not least, you can also install a third-party screenshot solution on your Windows system. There are many options available, offering you different advanced features.
Some of these tools allow you to take scrolling screenshots on Windows, which allows you to capture the non-visible parts of the webpage. Popular third-party screenshot tools are ShareX, Lightshot, and Droplr.
Now that you have learned all the possible methods to take a screenshot on Windows; let’s take a look at some tips to make it even more effective:
Furthermore, there are many editing tools available on the newer version of the Snipping Tool. Explore them by yourself and use them wisely to enhance your captures.
Windows 11 offers multiple ways to take screenshots, making it easy to capture and share your screen. I have provided all the steps you need to take using the Snipping Tool, keyboard shortcuts, game bar, and other methods.
Try out the method and choose what suits you best. Now, I hope you won’t have to go anywhere else to learn how to take screenshots on the Windows 11 system.
You can use all the Print screen keyboard shortcuts, the Snipping Tool, and the game bar option to take screenshots on Windows 10.
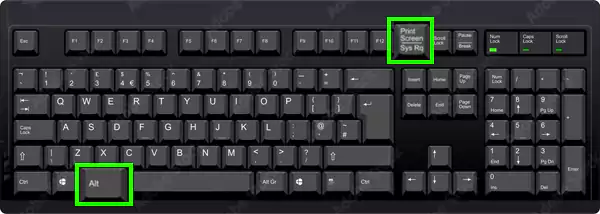
Press the Windows + Print Screen keys together. You can also use the Alt + Print screen shortcut to copy the screenshot on your clipboard.
You can find them in the Pictures > Screenshots folder, or you locate them in your clipboard.
This may happen due to several reasons, like a faulty keyboard, the issue with the Snipping Tool, or the Print Screen key being occupied by another program on your device.
Taking a screenshot on Dell laptops, HP computers, or any other device using Windows 11 is almost similar. You can use the Snipping Tool, the game bar, or a keyboard shortcut for screenshots.