Instagram is one of the best social media platforms that offer you features to post photos, videos, make Instagram reels, stories, and IGTV videos to interact with your followers and tell them what’s happening in your life.
We all love to beautify our photos a little bit and add in some effects and filters to modify them and make them look more stunning before actually posting them on Instagram.
You will get various third-party apps for doing so on the internet, but Instagram filters are the best amongst them. You can use the filters already used in the story or posts of some private account by using Instagram viewer tools.
You can seamlessly edit your photos in seconds with the best Instagram filters before posting them on the platform.
Keep reading the below article to know more exciting details about Instagram filters.
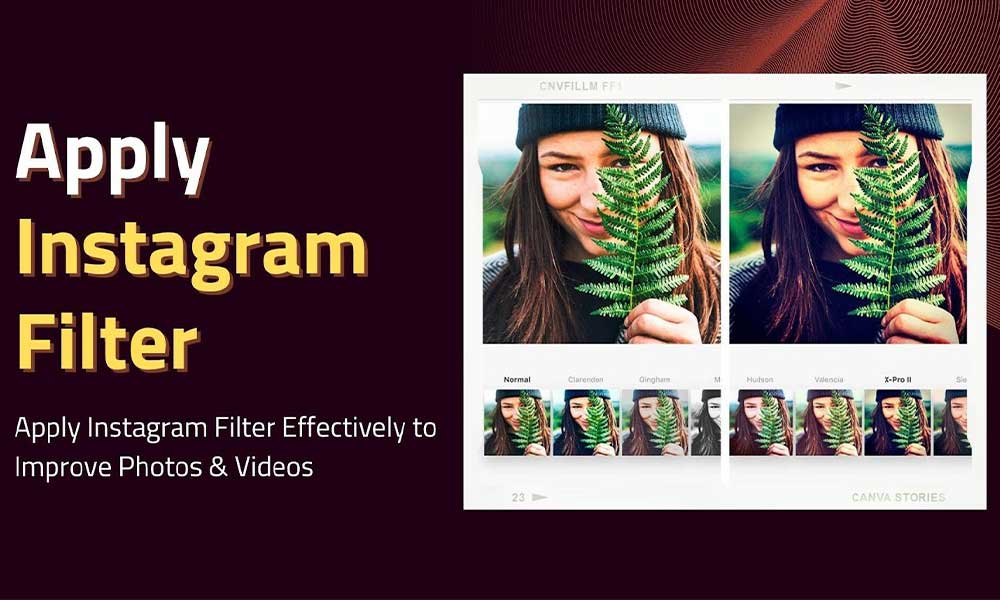
Instagram filters are an immediate and easy way to enhance photos and stories before posting. This is a pre-set combination of effects that helps you modify or beautify your photos.
Back in 2011, when the filters for Instagram were launched, it consisted of some basic features such as; high resolutions, border, and tilt-shift effects.
But now, Instagram offers a plethora of 25 inbuilt or default filters for the users to choose from and apply.
Also, apart from these, with the help from AR Studios, you can make custom & latest Instagram filters.
It would be best if you used Instagram filters –
Suppose you are new to using filters in Instagram posts and stories and are skeptical about choosing perfect filters.
Then, go through the list of best filters ranked as the best amongst all.
Apart from these built-in filters, there are thousands of more filters available on Instagram. Read the below-mentioned steps to use the latest Instagram filters in your posts and stories.
Various creators on Instagram make customized filters using the AR feature.
If you want to download filters created by them, then follow the below-mentioned steps for the same –
It might sometimes happen that you may find an excellent filter in any of your friends’ posts or stories and then want to use the same filter in your posts. In that case, follow
But, what would you do if you want to use the filters used in the Instagram story or posts of some private account?
First things first, you can send the following request to that person, but if they do not accept your bid, you can take the help of specific software and tools to spy on their account and use the filters in their posts.
These fantastic tools are; IGLookup or Instalooker.
You can quickly go to their websites, click on the ‘spy now‘ option, type, and enter the target’s username to view the results within seconds.
By following the steps mentioned above, you can quickly get the Instagram filters from their account and add them to your collection.
Follow the below-mentioned steps to add Instagram filters to your posts and make them look aesthetic.
Suppose you want to exceed the par of creativity in your posts and be extra artistic. In that case, you can create and customize Instagram filters through the AR feature.
By creating a custom filter, your brand or your Instagram account will gather more engagement from the viewers.
For creating a custom filter, download the application of Spark AR Studio, the program specially designed for designing filters for the Meta family of apps.
Many tutorials on the application will give you a step-by-step tutorial to make the filters for Instagram of your choice. View those carefully and then make one yourself and surprise your viewers by using the same in your posts.
By reading the above article, you must have understood what important role do Instagram filters play in making the posts and stories aesthetically beautiful in a short time.
So, what are you waiting for now? Go, create a magical charm in your posts and attract more people to your account using the best Instagram filters.