Newsletters, commercial emails, marketing emails, counterfeit messages, misleading messages; they all play the role of filling your inbox with spam. We knowingly or unknowingly subscribe to some of the services through our Gmail address and after that there is no full stop to the junk emails.
Nevertheless, we can unsubscribe them but I don’t think it would be a great idea to open every single email and then hit the unsubscribe button. And, what about those old unimportant emails that are still lying in your Gmail account occupying the precious storage space.
Sorting through emails can be excruciating especially when you have a lot on your plate. Don’t worry we all have been there. So let’s not just fuss about the problem, instead try solving it.
But before that let me enlighten you about the research that proved that a messy inbox can lead to negative impacts on health.
The University of Loughborough conducted a study wherein researchers examined 30 government employees and found that 83 percent became more stressed while using their email account. As per the study, their stress levels, heart rate, and blood pressure peaked at times in the day when their inboxes were fullest. Interestingly, the study also found that irrelevant email or those that asked for an urgent response were mainly exhausting, however, those which arrived as a reply to completed work produced a calming effect.
Even I was amazed reading it at first but I felt the strain when I opened my Gmail after a break; those 15,658 unread emails got me tensed.
Not using emails is not at all practical; however, there is something we can do to manage them in a better way. And with Gmail, it is easier than ever. With Gmail filters and labels, it is just a matter of a few minutes to declutter and organize your mailbox.
Inbox management never comes automatically to someone and it is only achievable by learning and mastering certain skills.
So first we will master the Gmail Labels working out our way to Gmail filters.
A tag that can be added to every email that you send or receive including the drafts,
Gmail Labels offer a decent way to manage your inbox. Unlike Gmail folders, more than one label can be applied to a single email.Creating labels in Gmail is easy as pie. Simply, login to your Gmail account and you get two methods to create a label as explained here:
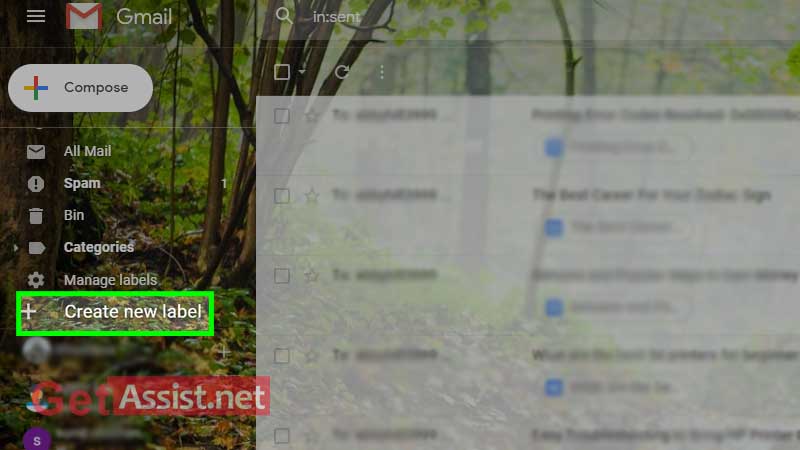
For the second method,
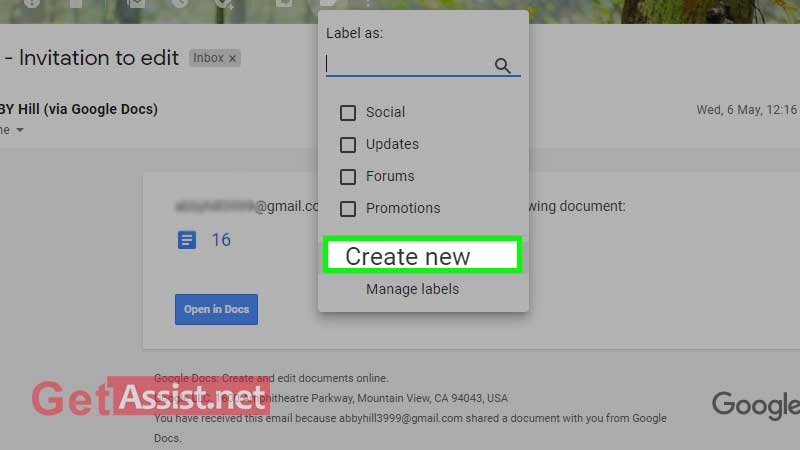
After that, just enter the name and
click ‘Create’ and the label is ready. Once you are done creating the labels, you can easily access them from the label list in the left-hand sidebar of your inbox.By the time you must have created some labels for your email account, now is the time to start using them.
Again, you have two methods in hand- one is to add the label to the email or move an email to a label.
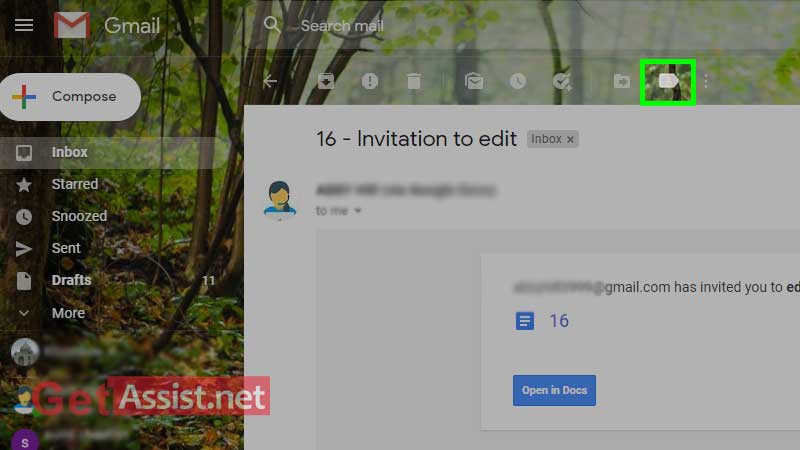
Open an email from your inbox and go ahead with the following step.
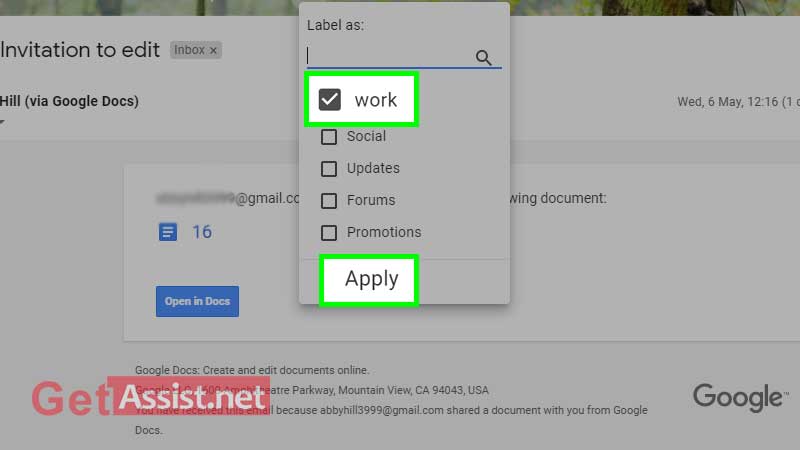
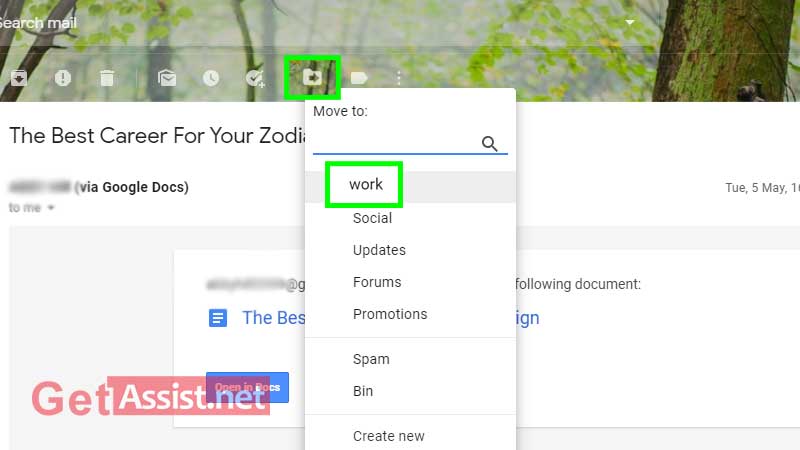
Click on the tag icon as you did previously and a drop-down menu shows up from where you have to select the desired label you want to assign to that particular email, click ‘Apply’.
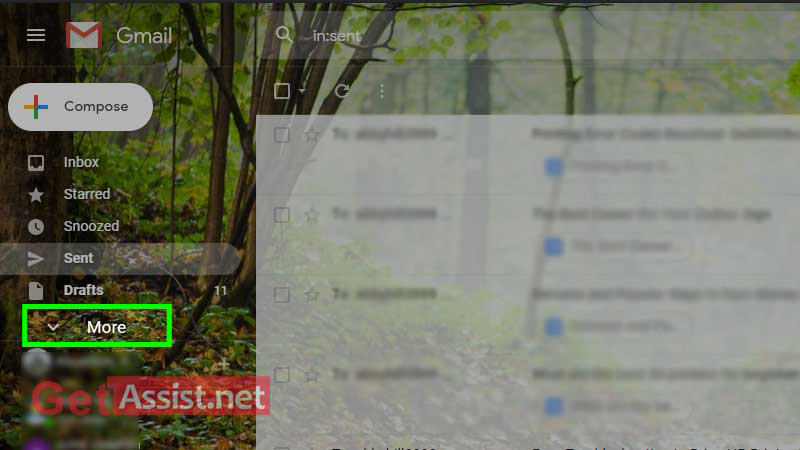
One way to do this is by opening an email and click on the ‘rightward’ arrow below the search bar. A drop-down menu will appear, click on the label you want to move the email to.
You can also move an email by holding the cursor on the email and dragging and dropping it towards the desired label in the left sidebar.
So now you know how to make emails go to a specific folder in Gmail.
Click on the three vertical dots given beside the label name and from the drop-down menu, select ‘Edit’. A dialog box will appear where you can simply enter the new name.
Again, click on the three vertical dots provided beside the label name, and from the drop-down menu, click on ‘Remove Label’ and then click ‘Delete’.
You can even do this by opening an email and clicking the ‘X’ button given next to the label name.
Now, you know the basics of labels; let’s move on to how to filter emails in Gmail.
Filters in Gmail are rules that let you redirect emails as soon as they hit your inbox eliminating the need to sort emails manually. Using the rules provided by the email giant, you can simply direct certain newsletters from particular senders into a separate inbox or directly send them to the trash.
So now you have another way to free up storage space, bring down the stress levels, and give priority to the important conversations.
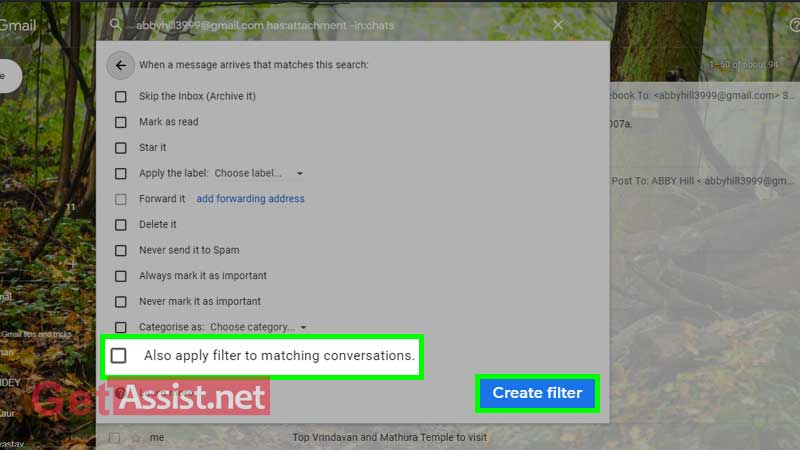
Gmail filters are effective in sorting out your mailbox only if you know which ones are useful for you. So before you begin to use them, here is something you need to know. The actions you can perform using the available Gmail filters are:
Mark as Read: get an incoming email marked as ‘read’.
Apply a Label: Add a label to a particular email.
Delete it: Getting spam emails? This filter sends an email to the trash.
Forward it to: Forward the required emails to your second email address.
Star it: Urgent emails? Have them marked as starred.
Skip the inbox: Avoid duplication by using this filter so that it doesn’t land in your inbox.
Never send it to Spam: Mark certain emails never go to the spam folder.
Always mark it as important: Important emails? This filter marks them as important.
Never mark it as important: Use this filter to never mark specific emails as important.
Categorize as: Tell Gmail to add specific emails under a particular category such as Primary, Social, Updates, etc.
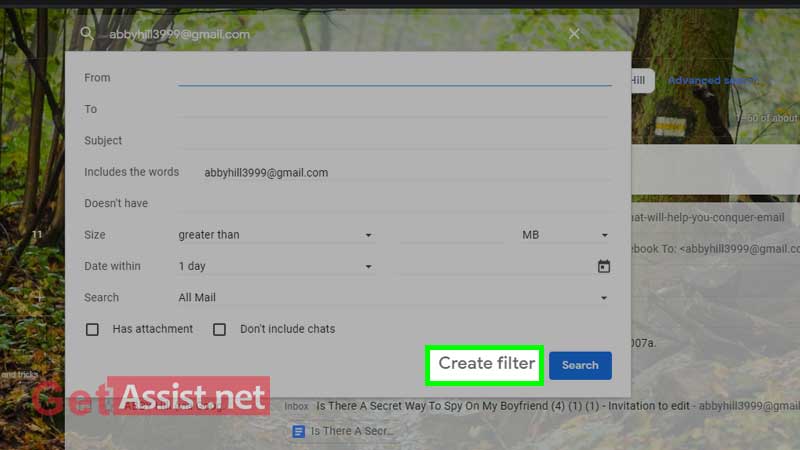
You have got two ways to create rules in Gmail.

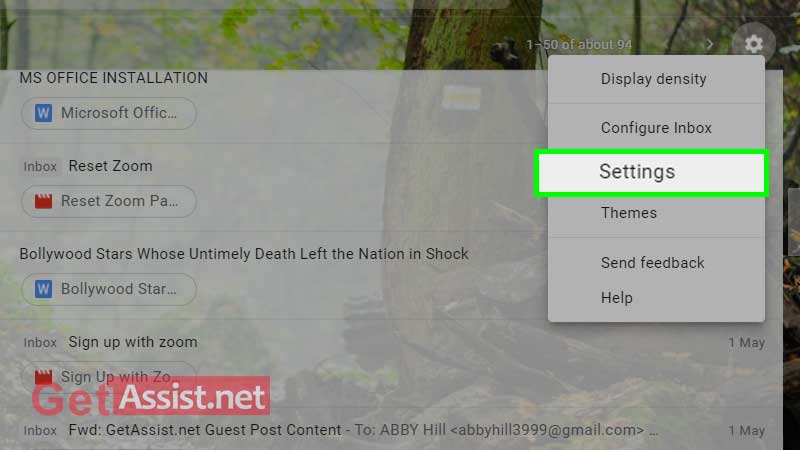
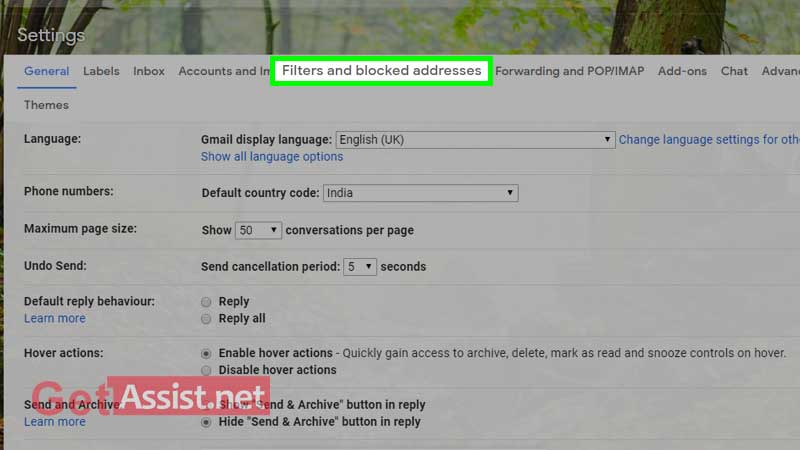
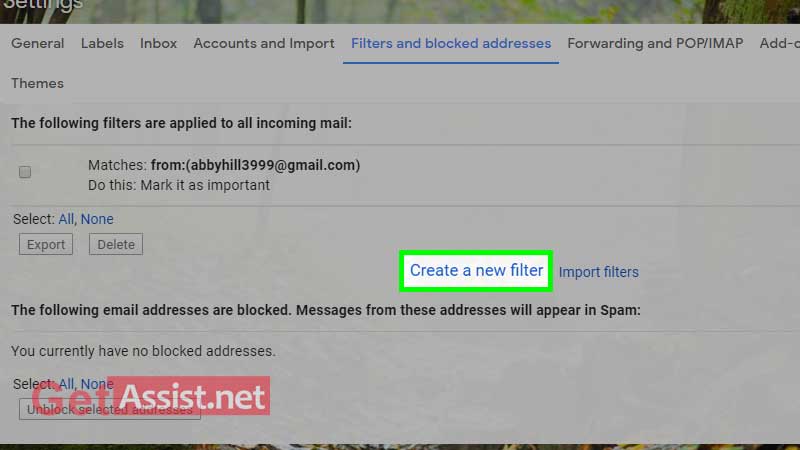
To delete or edit Gmail filters, just follow the same steps as explained above i.e. go to the setting section of your Gmail account, and under the heading ‘Filters and blocked addresses’, there is a list of existing Gmail filters. Next to every filter, there is an option to edit the filter or delete it.
Not using Gmail is not an option, you just need to learn the right way if using the labels and filters provided to you. Hopefully, this guide has helped you in getting acquainted with how you can use these filters and labels to organize your emailing life.